")
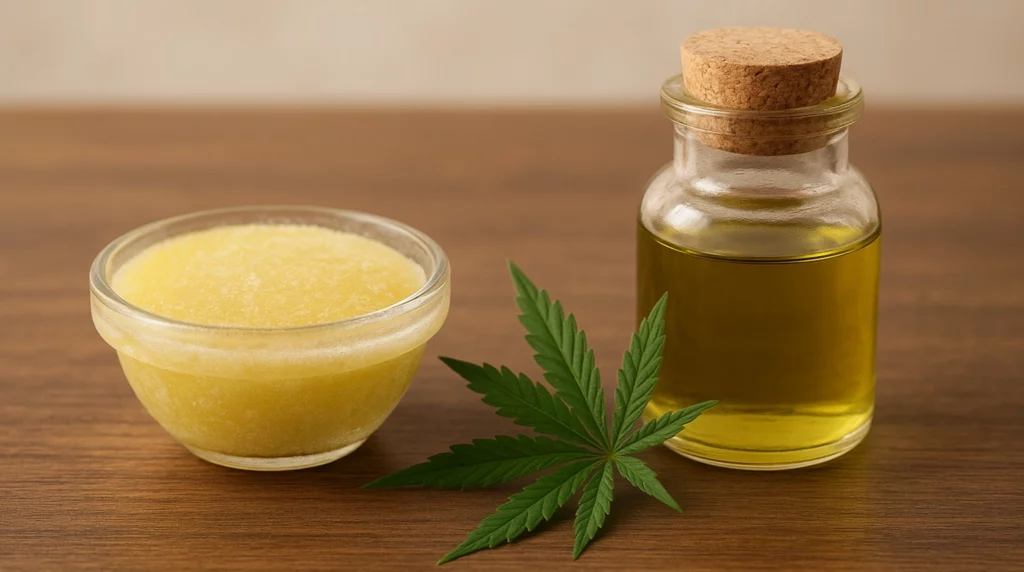
Canna-flour is one of the easiest, most versatile ways to cook with cannabis at home. Instead of infusing oils or making butter, you’re using the entire flower-decarboxylated, ground, and blended right into your regular flour.
The simplest way to make potent, whole-plant cannabis flour you can bake into anything-brownies, banana bread, or savory snacks.
Canna-flour is one of the easiest, most versatile ways to cook with cannabis at home. Instead of infusing oils or making butter, you’re using the entire flower-decarboxylated, ground, and blended right into your regular flour. The result is an edible that’s full-spectrum, earthy, and ready to stir into your favorite recipes.
Why Decarboxylation Is Key
Yes, even though you’ll be baking your canna-flour later, you still need to decarb your cannabis before grinding it. Why? Because most recipes don’t bake long or hot enough to fully activate the cannabinoids inside the flower. If you skip decarbing, you could end up with edibles that taste herbal-but have zero effect.
Using the Noids Herb Cooker (Pot by Noids) takes all the guesswork out of this. It decarbs your flower evenly, gently, and precisely-preserving potency and flavor.
Canna-Flour Recipe: Step-by-Step
Ingredients:
- 2 to 3 grams of dried cannabis flower (choose a strain you enjoy)
- 1 cup all-purpose flour (or any base flour you like)
Note: This dosage creates a light-to-moderate potency when using about cup of the finished canna-flour in a recipe. Always adjust based on your tolerance and the strength of your flower.
Tools You’ll Need:
- Spice or coffee grinder
- Fine mesh strainer (optional)
- Airtight jar for storing
Step 1: Break Up the Cannabis Flower
Start by breaking your dried cannabis buds into small chunks. No need to grind yet-larger pieces decarb more evenly and reduce the risk of burning during activation.
Step 2: Decarboxylate with the Noids Herb Cooker
1. Place the cannabis in the Noids chamber.
2. Select the “Activate THC” setting (or “Activate CBD,” depending on your flower).
3. Let it run the full cycle-usually about 90 minutes.
Why Decarboxylate First?
Although your canna-flour will go in the oven later, decarbing ahead of time ensures the THC (or CBD) is fully activated, giving you reliable effects every time.
Step 3: Grind to a Fine Powder
Once cooled, transfer your decarbed flower to a spice grinder. Grind until it becomes a soft, even powder-similar in texture to flour. Sifting is optional, but it can help with consistency in baking.
Step 4: Mix into Flour
Add the ground cannabis to your flour of choice. Start with: 1 tablespoon of canna-flour per 1 cup of regular flour
This gives you a stronger batch while keeping dosage manageable. You can go up to 2 tablespoons per cup if you’re experienced and know your tolerance. Always label your canna-flour clearly so it doesn’t accidentally end up in the wrong cookies.
Step 5: Store It Right
Store in a sealed glass jar, away from light and heat. Use within 1-2 months for the best potency and flavor.
How to Use Canna-Flour in Recipes
Use it in place of some (not all) of the flour in your baking. Try it in:
- Cannabis brownies
- Canna-banana bread
- Savory herb crackers
- Chocolate chip cookies
- Pancakes or muffins
Pro Tip: Bake at 356F (180C) or below to avoid degrading THC.
Final Thoughts on Making Cannabis Flour
Making your own canna-flour at home is an empowering way to explore edible cannabis-especially when you want something more subtle and whole-plant than infused oils or butters.
The Noids Herb Cooker makes the process foolproof, and once you’ve tried baking with cannabis flour, it’ll become a staple in your kitchen.

")


")